In order to access your Google Drive files from this application, you need to generate a Google client_id that will be used by ezRemote client to call the Google Drive API's. This wiki will give you the steps on how to create this client_id.
Steps to create your own Google client_id.
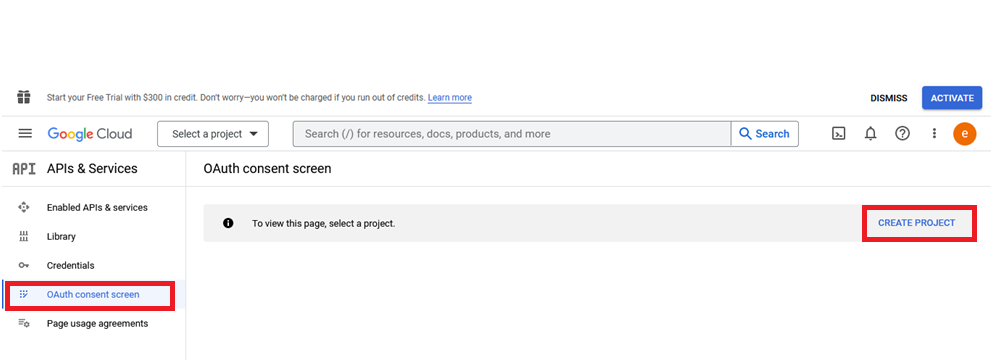
1. Go to Google's API Console. https://console.cloud.google.com/apis/dashboard. Then select the “OAuth consent screen” and then select “CREATE PROJECT” link.
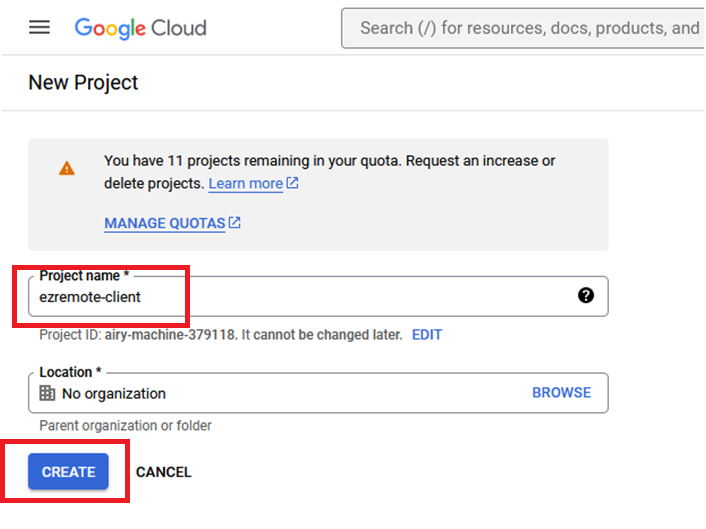
2. In the Project creation screen give a name to identify the application. You can give “ezremote-client” if that’s what you want to appear on the consent screen. And then select “Create”.
3. On the next screen select “External” and then select “Create”.

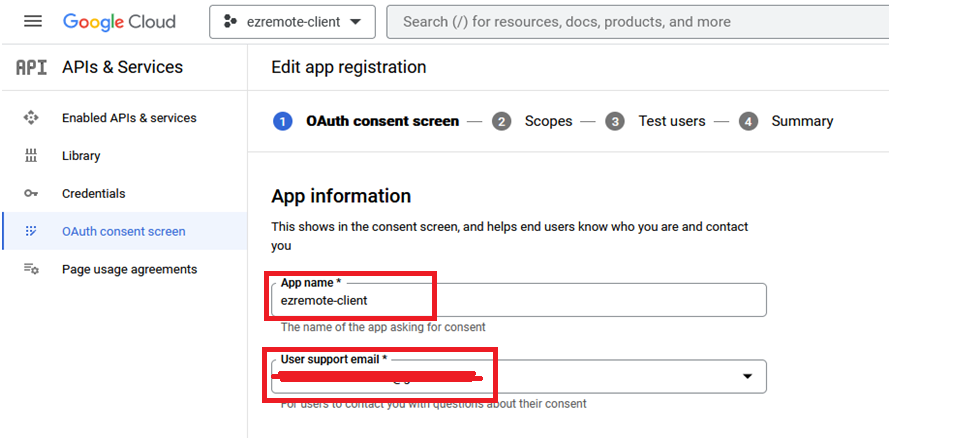
4. On the next screen, You just need to fill out the “App Name”, “User support email” and “Developer contact email”. For “App Name” use “ezremote-client” and your personal email for both email address fields.

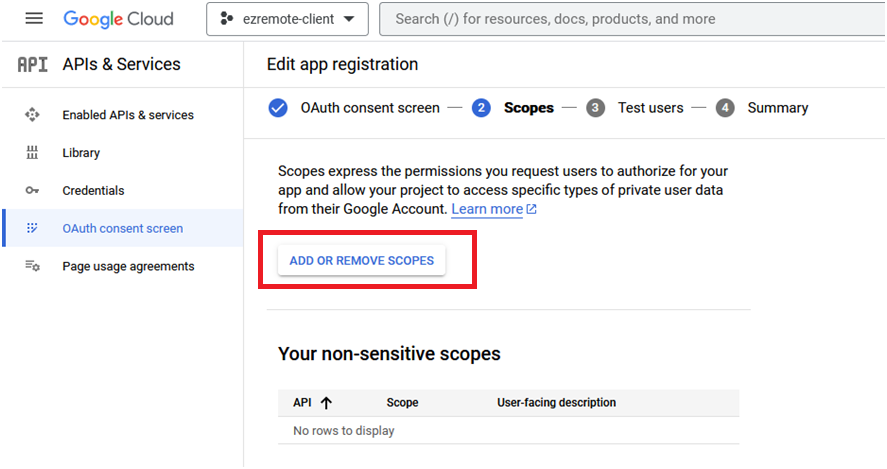
5. On next page, select “ADD OR REMOVE SCOPES”.
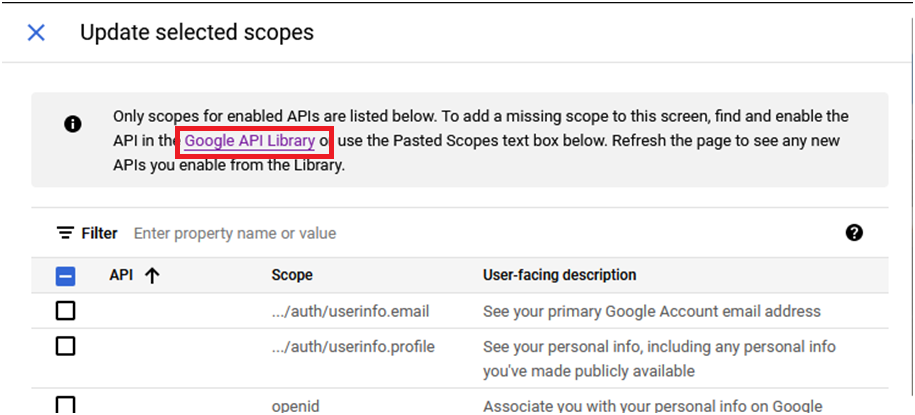
6. In the popup dialog, Note that in the List of scopes, there isn’t any option for “Google Drive Api”. If you don’t have those options, select the “Google API Library” Link at the top of the page. This will take you to a separate page.
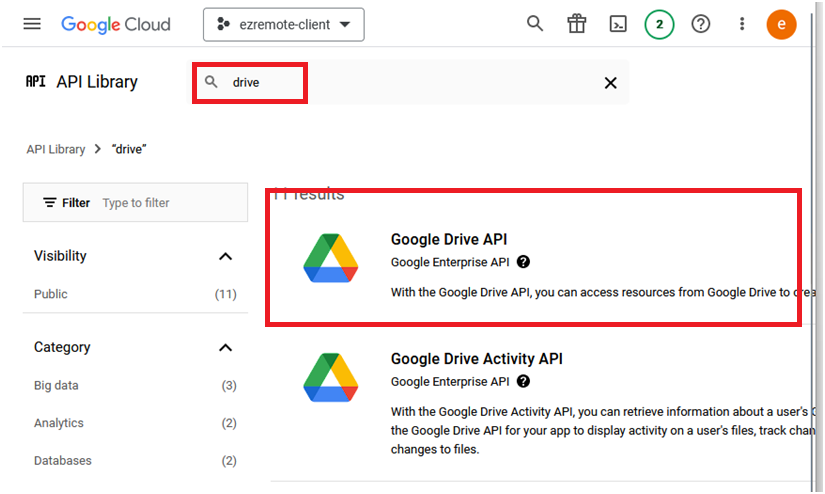
7. In the popup page, search for “Drive” and then select the “Google Drive Api”.
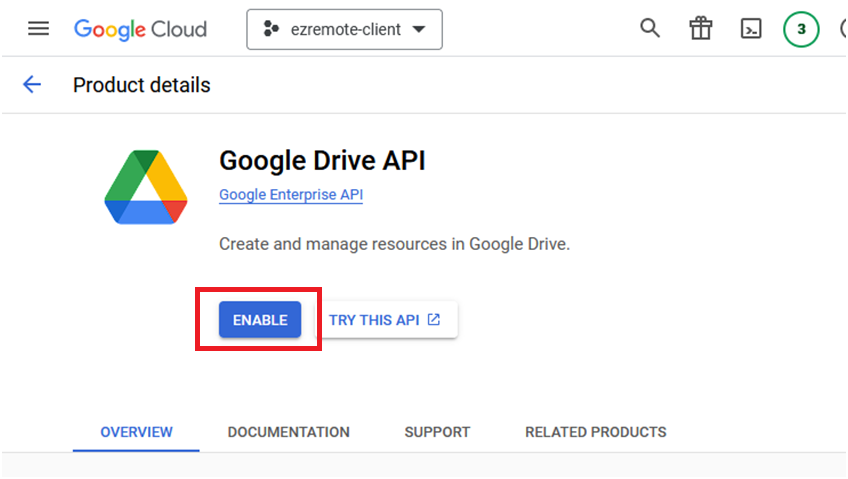
8. Then in the next page, Select “Enable”.
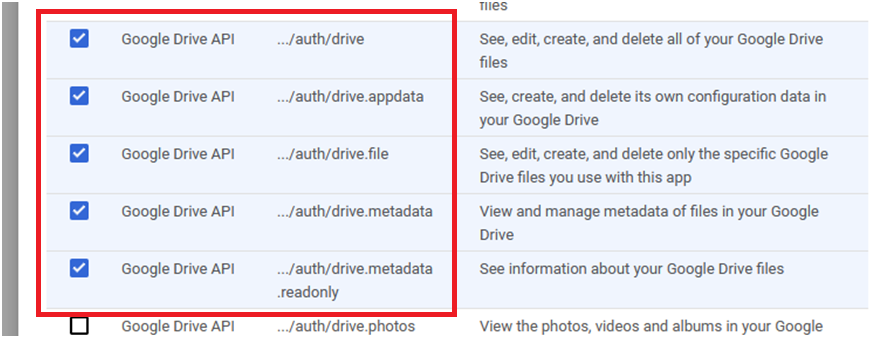
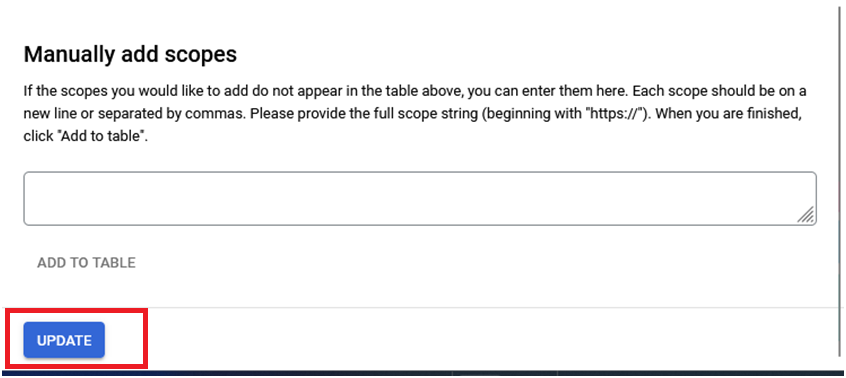
9. Back in the page at step 6, refresh the list of scopes and you should now have the Drive Apis in the list. Select the scopes related to drive files and then scroll to the bottom of the page and select the “Update” button.
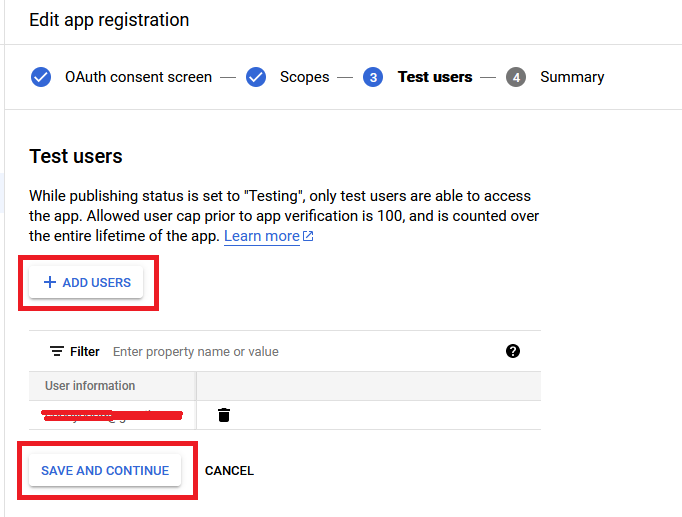
10. IMPORTANT: In the next screen, select “ADD USERS”. These are the users that you want the ezremote-client app that will be allowed to access in Google Drive. After adding the Users, select “SAVE AND CONTINUE”.
11. After previous step. This completes the “OAuth consent screen” configuration.
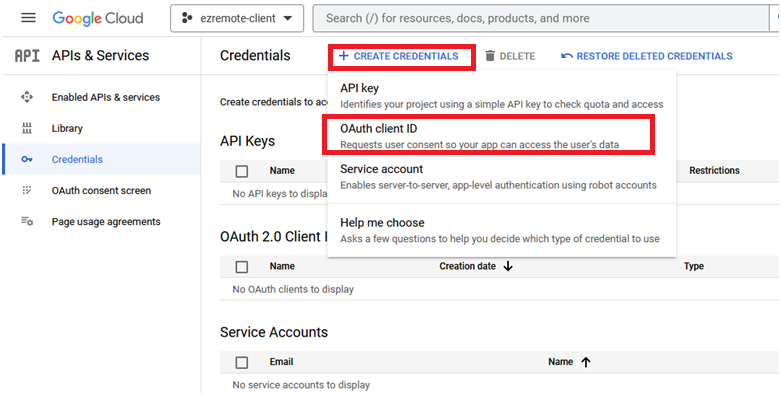
12. Next, we need to create a “OAuth client Id”. After completion of this config, you will need the client_id and client_secret values updated in the “ezRemote Client” app.
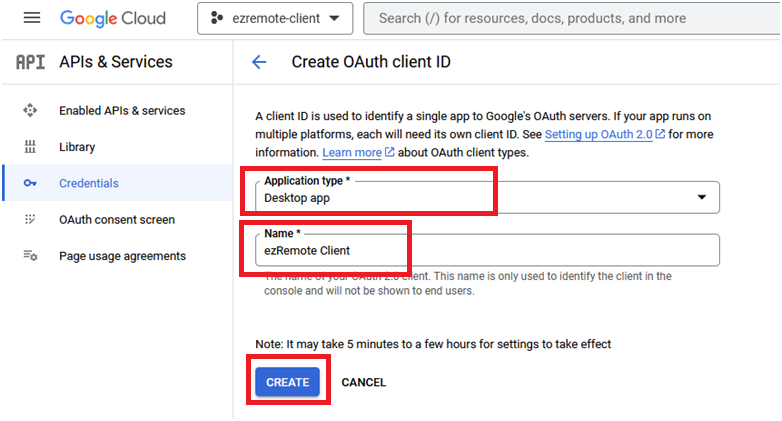
13. On next screen select “Desktop Application” for the “Application Type” and “ezRemote Client” for the “Application Name”. And then select “CREATE”.
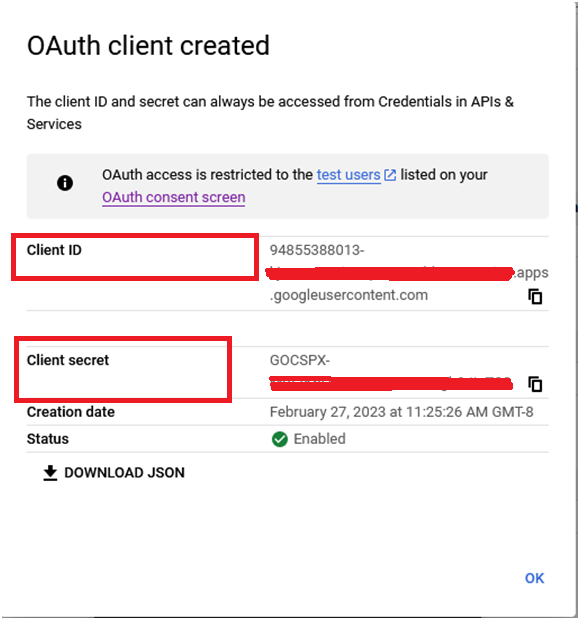
14. Next page should generate a “client_id” and a “client_secret”. Copy those value somewhere or download the json file which contains the information. You will need those 2 field updated in the PS4 ezRemote Client application.
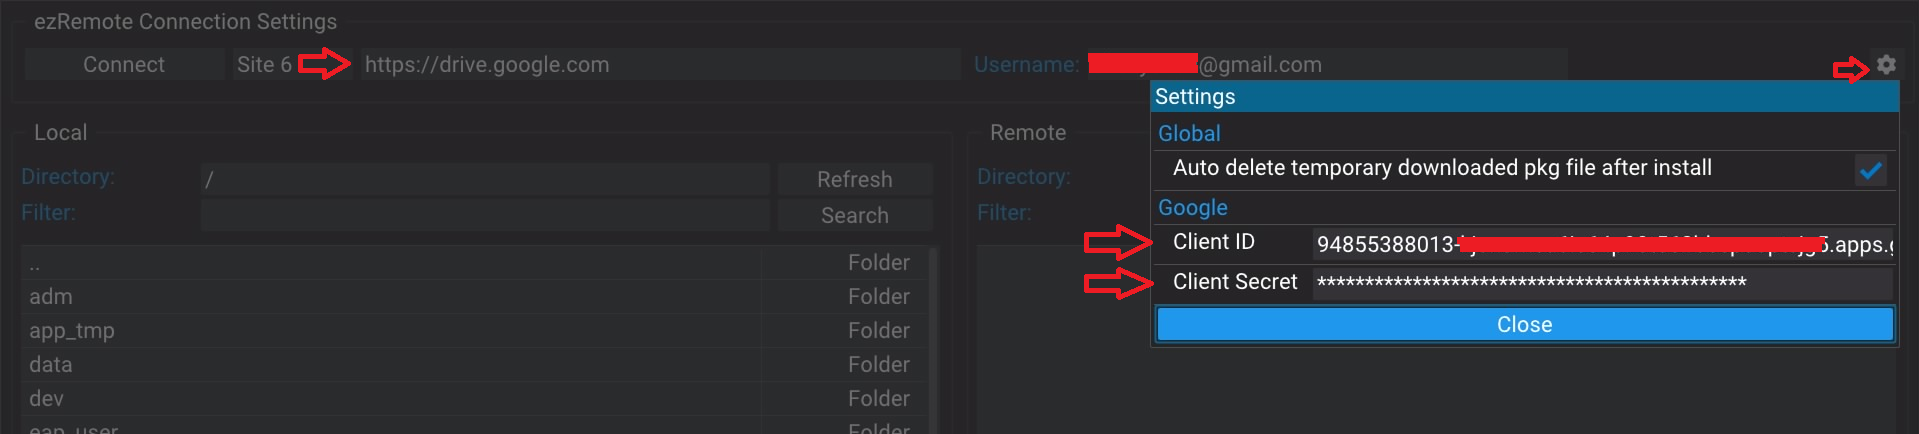
15. In the ezRemote client app. Go to the settings and update the client_id and secret. And in any of the Sites. Enter "https://drive.google.com" in the Server field and your Google email address in the username.
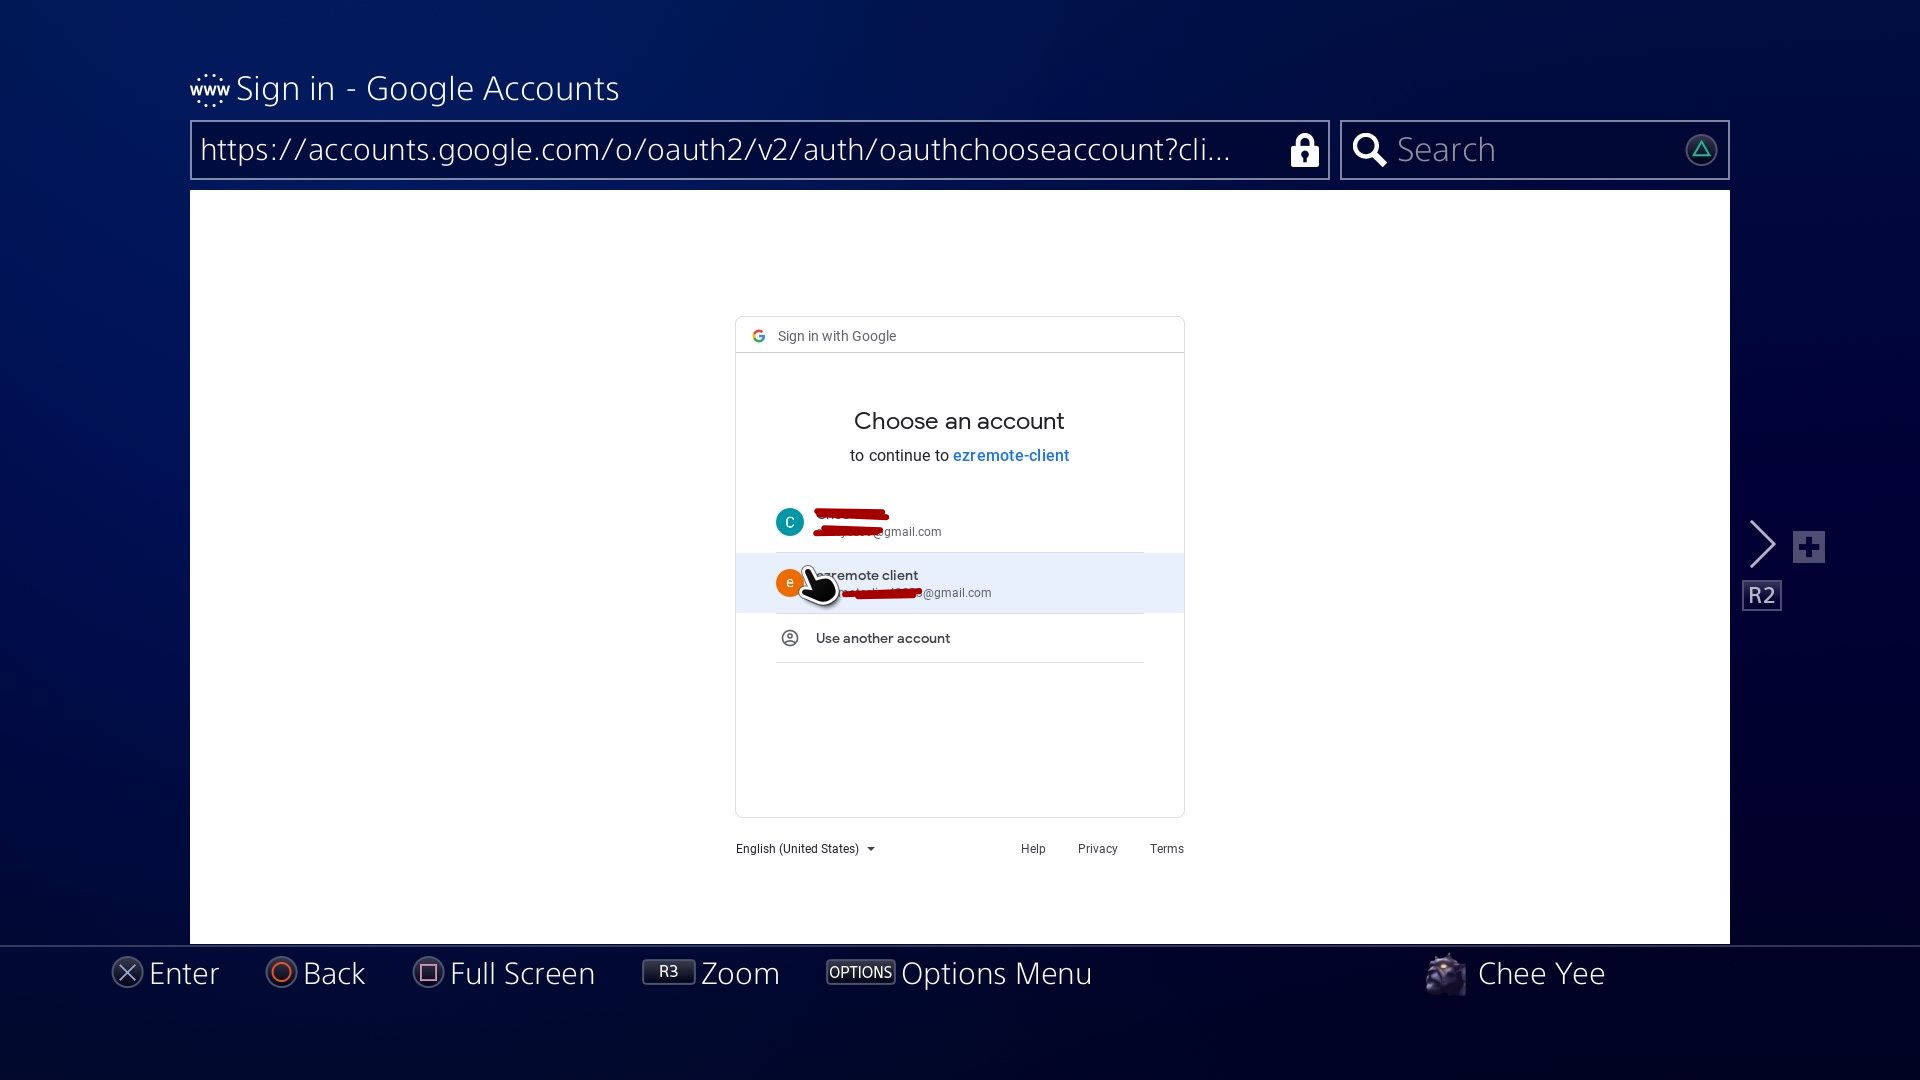
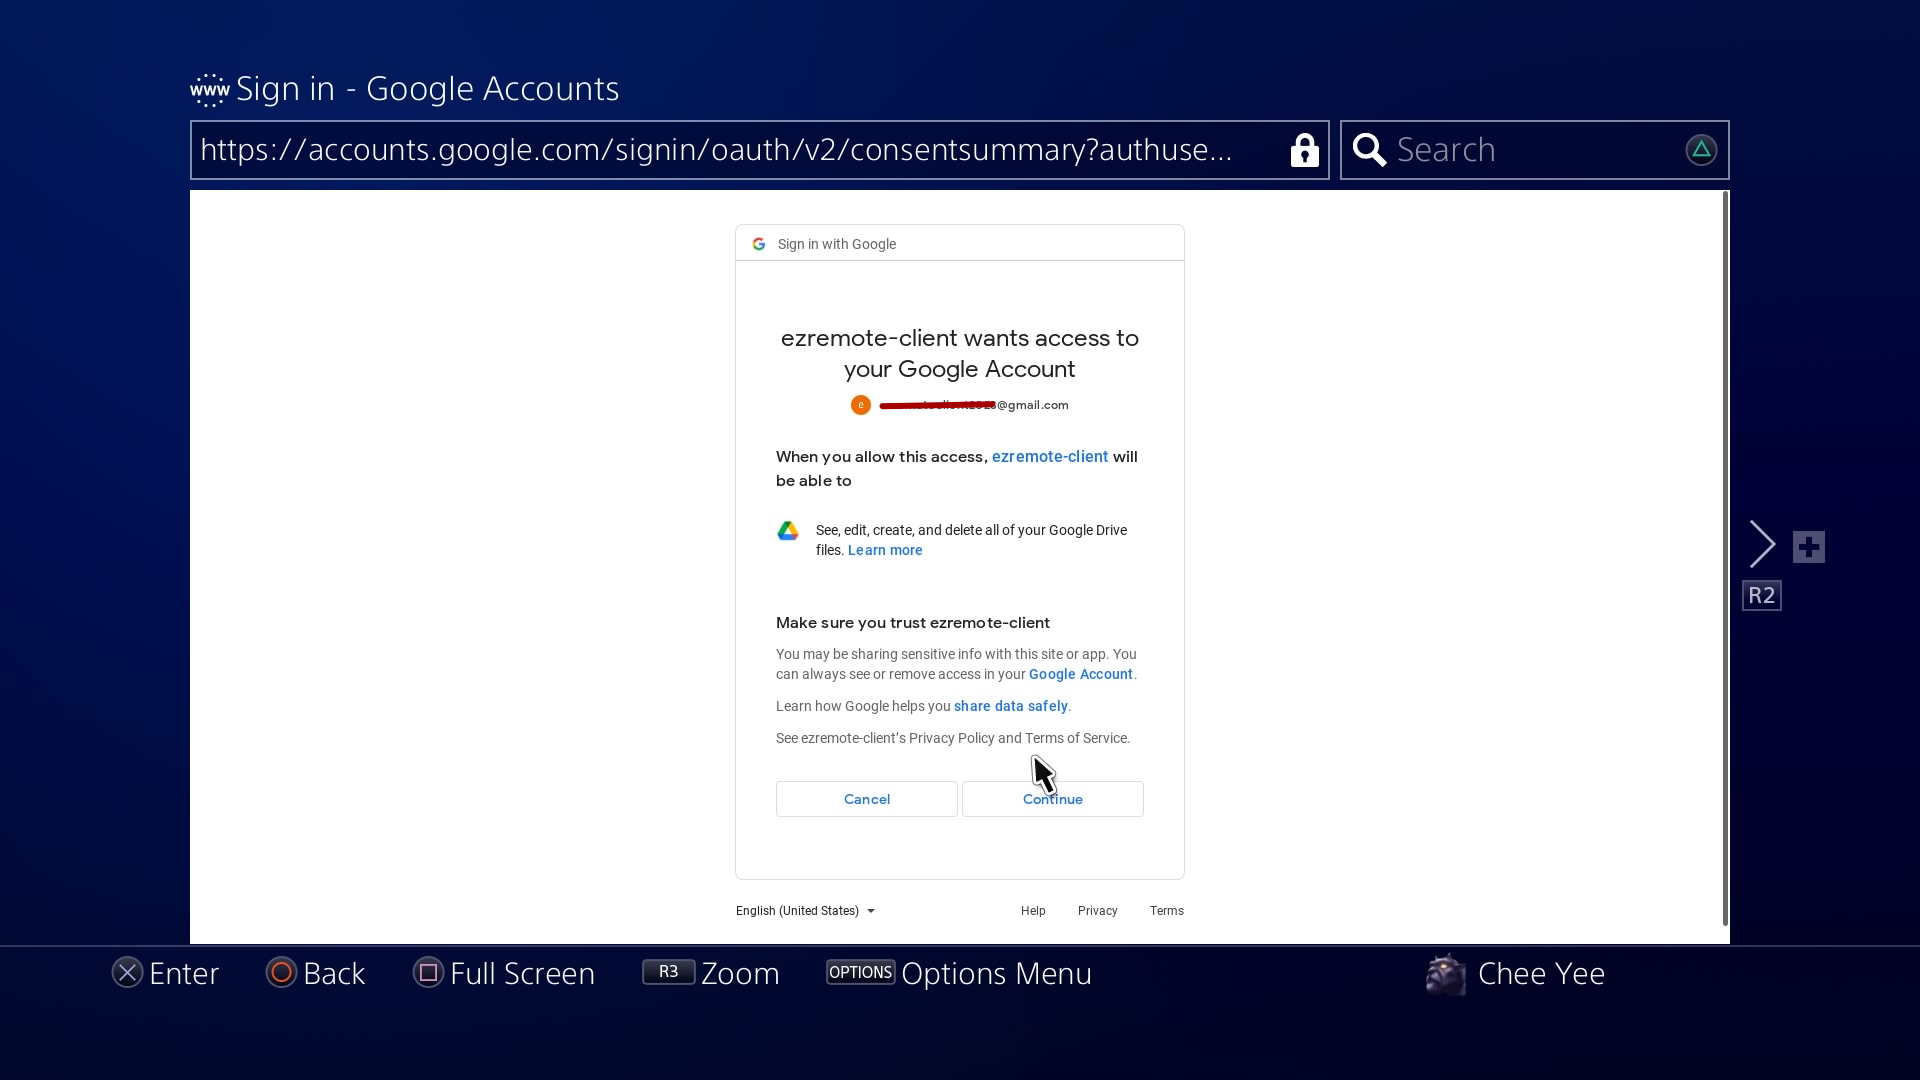
16. If everything is setup correctly, you will be taking to the PS4 browser to login to your Drive and grant permission to the application.
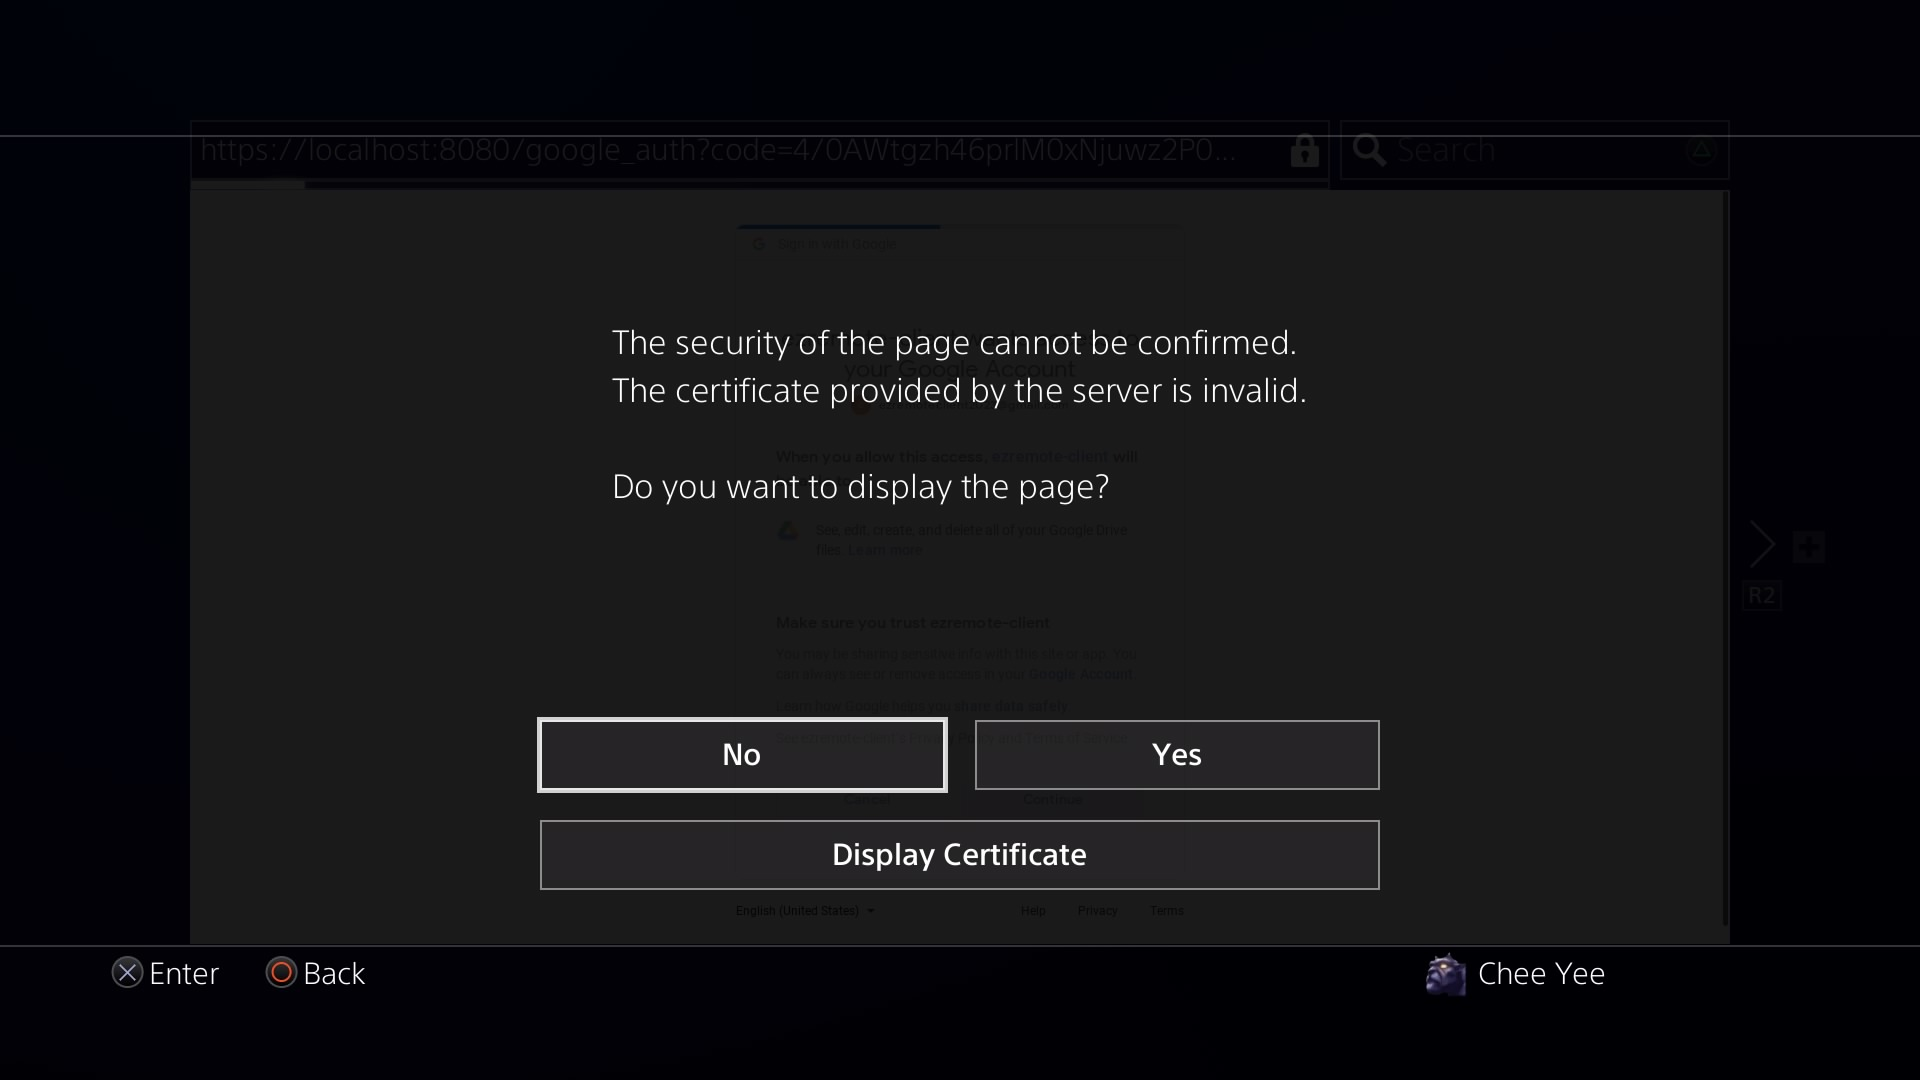
17. For this warning screen it is safe to continue, reason is that I'm running an internal https server that is using a self signed certificate and not a public signing certificate. Also the https server is bound to the localhost or "127.0.0.1" IP which is only accessible from within the PS4 only. It can't be reached even from your PC/laptop in the same network. This is required so that ezRemote Client is able to receive the "Authentication Token" sent by Google.
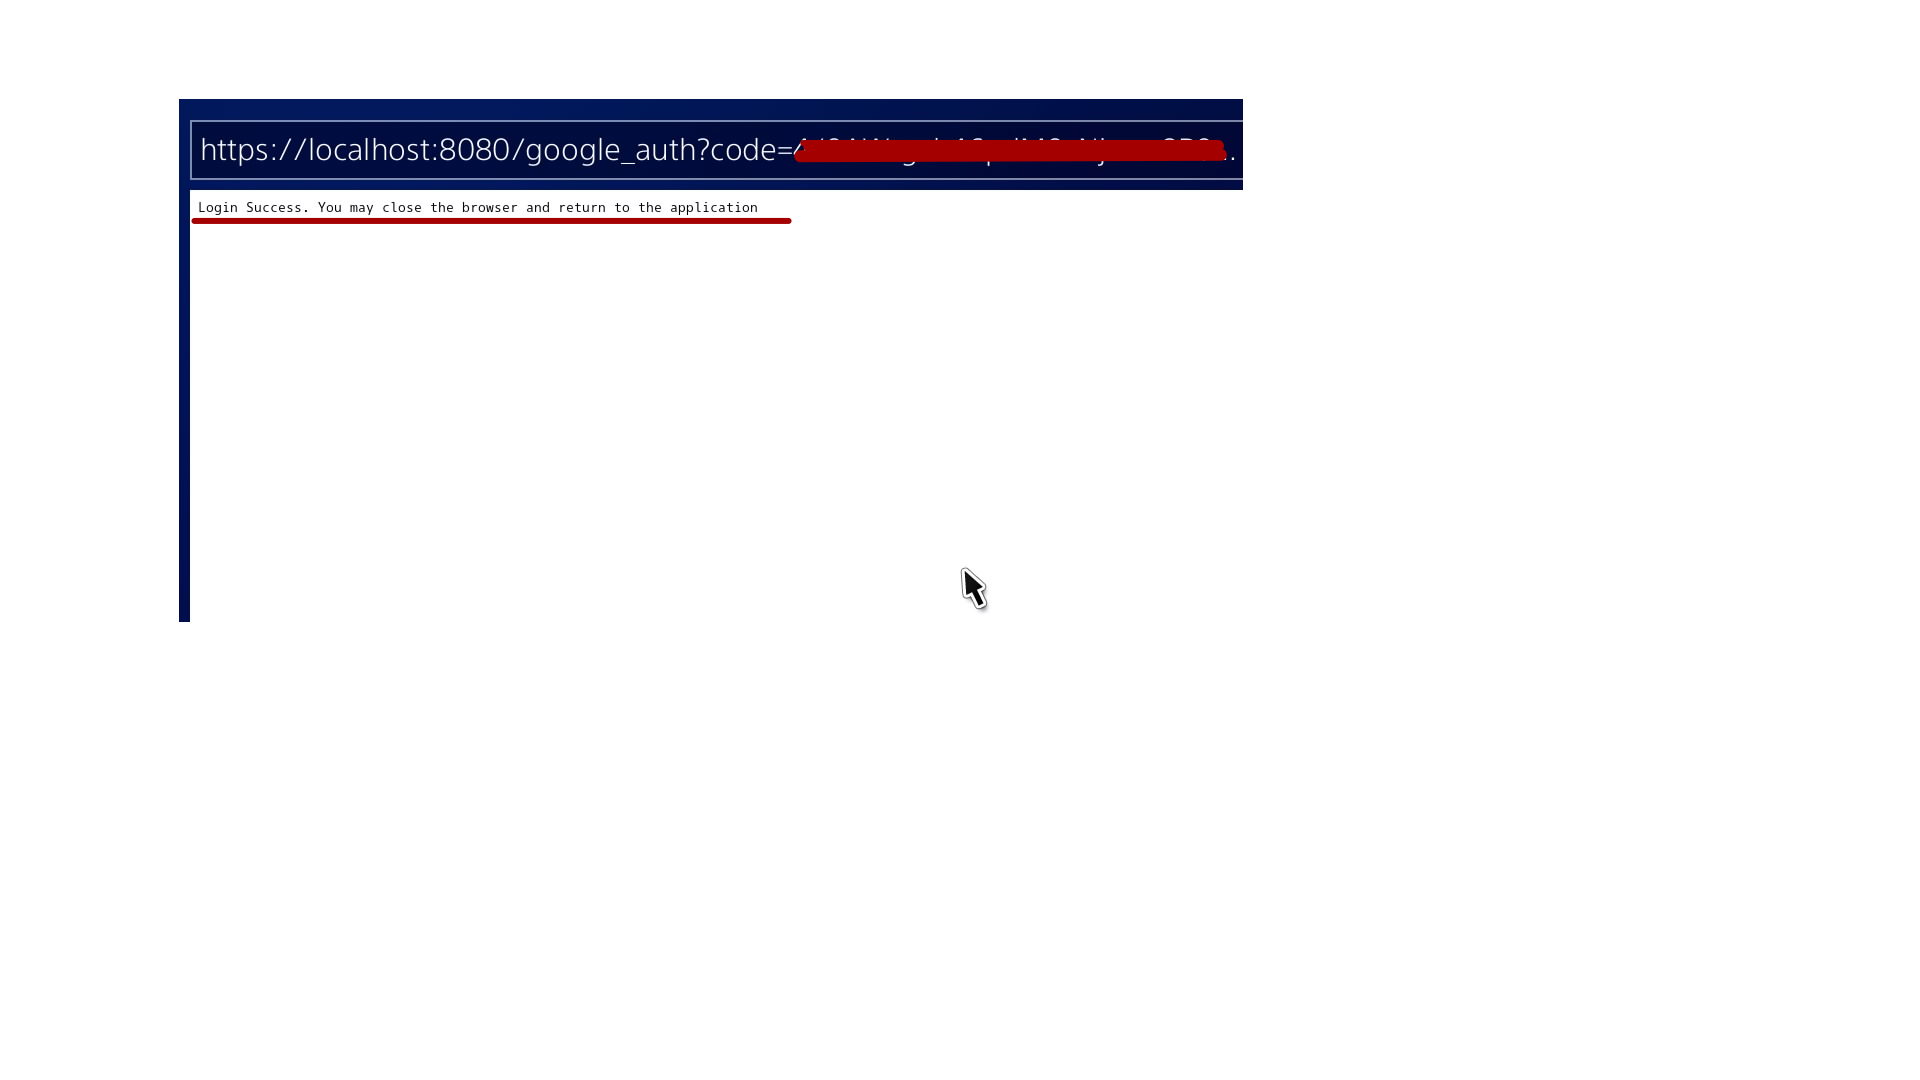
 18. If successfully logged in, you should see the following screen with the message "Login Success. You may close the browser and return to the application"